I had shared each of these cards in past posts…..
Here is
"Thinking of You"
"Chickadee card with Gelatos"
"Faceless Beauty"
But what I totally forgot to share as I forgot to upload it, was the video I did on these cards.
Since my videos are taking up over half of my laptop memory, I went through a few of my videos that I haven't uploaded and figured I had better get on that.
Then I can save the edited videos to my external hard drive and delete them from my computer and all of the parts of the videos that didn't make the cut….believe me there are a lot that didn't make the cut, lol.
I hope you have all had a very Creative Day today.
I got to make some more Pocket Letters…these are really fun :)
Tracy :)
Showing posts with label water colour. Show all posts
Tuesday, April 7, 2015
Tuesday, February 17, 2015
Thinking of You…water colour card
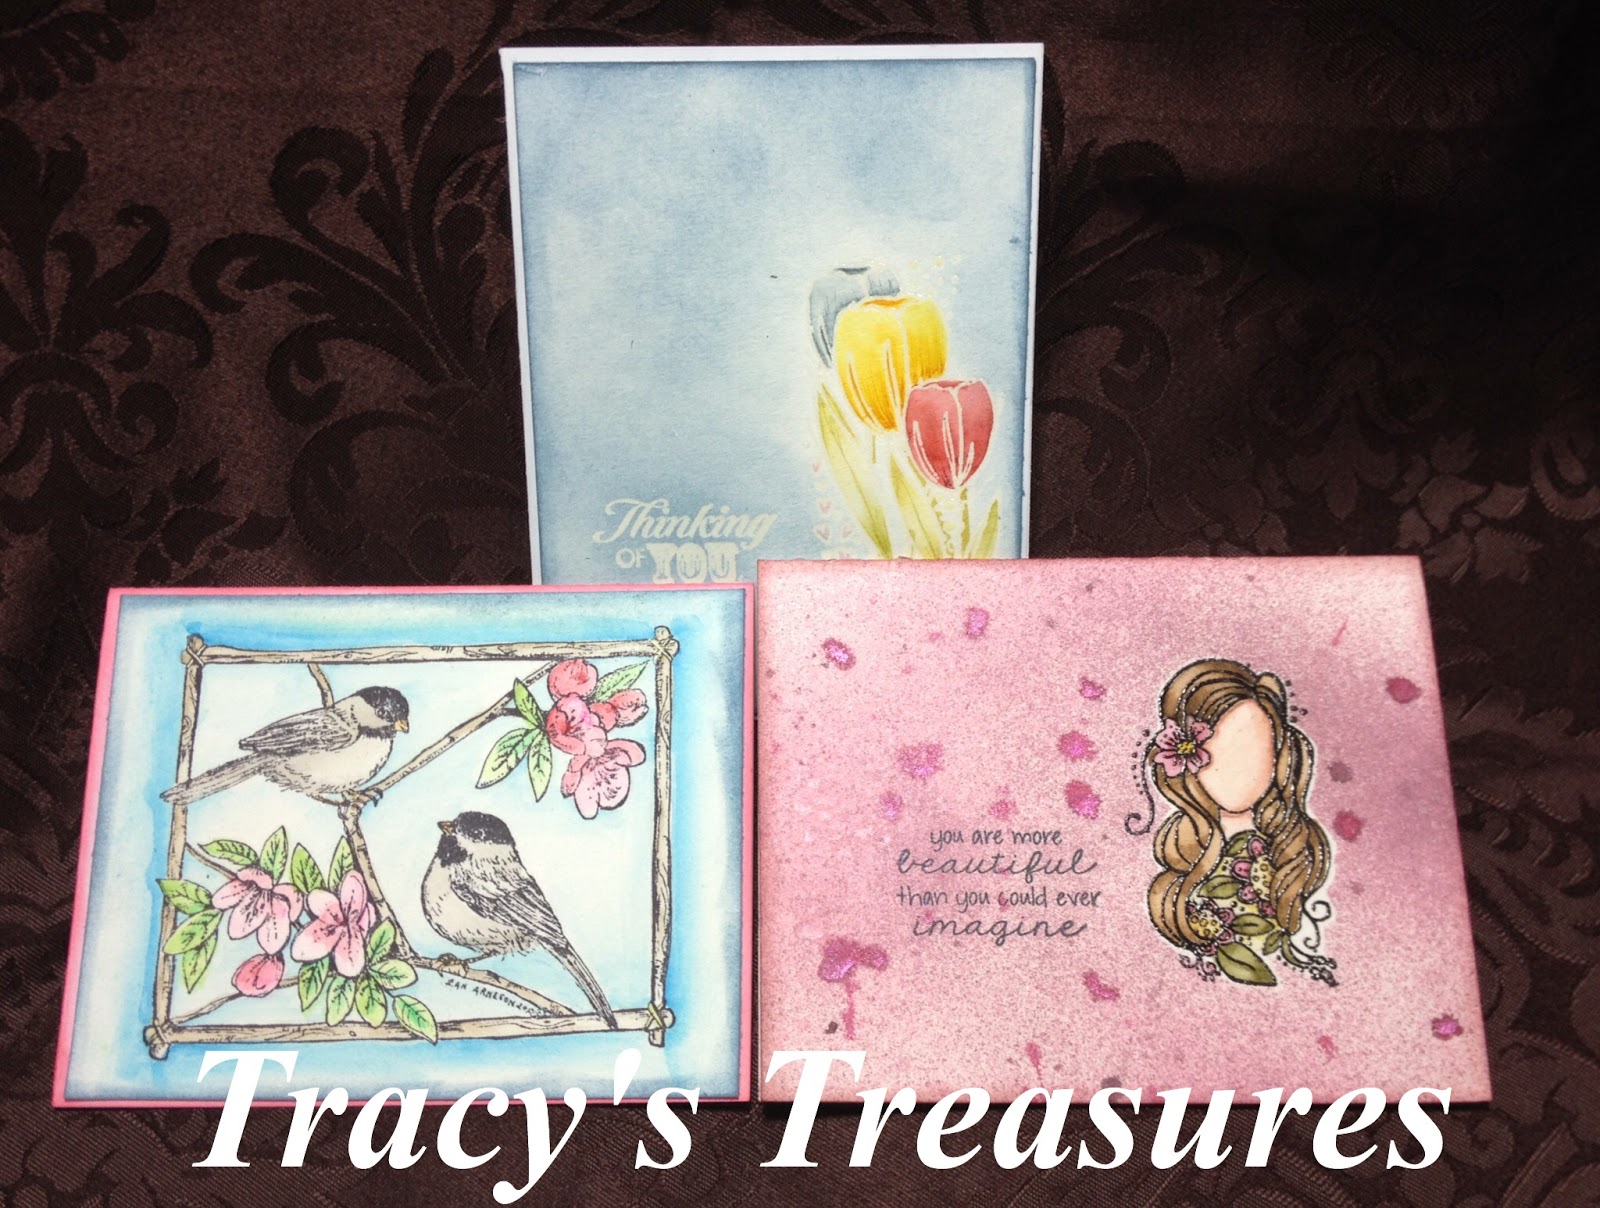
I had so much fun making my "Faceless Beauty" water colour card, that I wanted to make another one.
I had watched an Amy R video today and she inspired me to try to make this one with clear embossing powder.
I really like how it turned out.
Look…I made a photo tutorial :)
I used this flower from the stamp set that I received as a gift from Unity Stamps called "Have a little faith" :)
Versa mark embossing ink, clear embossing powder and some water colour paper.
After stamping my image with the Embossing ink, pouring the clear embossing powder where I had stamped and then getting the excess powder off of the paper.
Lastly I heat set the image with my heat gun.
It was hard to get a good photo of this, but when the embossing powder turns shinny like this..it is done.
Then the fun part..colouring :)
I used my Distress markers for this.
I have to mention, using water colour paper really does make a big difference in how the distress markers ink moves on this paper.
I coloured right from the marker.
I just put some colour on the bottom of the flower (as this is where I wanted the darkest of the colour to be) and them moved the colour with my water pen….you could also use a wet paint brush for this as well.
Here they are all coloured up…but they needed a bit of something.
To add even more detail.
Once the distress marker ink was dry, I used the fine tip on the marker, to add some flicking for more shading to the flowers.
Sadly, my red fine tip seemed to be dried out, even though the brush tip worked fine…its a mystery ;)
I did the same to the leaves as well.
Lastly I added some colour to the background with my Distress ink from the ink pads with my "Homemade distress ink applicators".
It took me longer to write this post, than it did to make this card.
This card took me no longer then 20 minutes to complete.
I hope you all had a very Creative Tuesday :)
Tracy :)
Labels:
card,
distress inks,
Distress markers,
tracy's treasures,
water colour
Subscribe to:
Posts (Atom)