I had seen this technique where you ink up one side of the embossing folder, and then run it through your embossing machine.
The ink transfers to your paper, where the ink was placed and where there is no ink, it says the colour of the paper used.
In this instance I inked the de-bossed side of the embossing folder.
I don't think my embossing folder was deep enough and some of it flowed to the parts that I didn't want colour...the trees.
This took me a few tries to get it to where I liked the look.
I then added more colour with my water colour pencils.
Lastly I added a deer die cut and the greeting.
I am trying to get in more creative time this year.
And by helping me with this goal, I have decided to do Tim's 2016 Tags.
So here is my January 2016 Tag!!!
I have done these tags for 2 years, and every year for January, it is a New Year type of theme.
For this year I wanted to do something a bit different, so went for a Snowflake theme.
Up here where I live January is one of the coldest months with plenty of snow.....so I thought it was fitting to do my tag to reflect that...plus I wanted to do some colour :)
Ok, lets get started.
First we need a tag ;)
Tim has some foil paper, where I don't, so I use my own way of adding foil to the tag.
I have done this many times and it works great!!
I use foil tape...the type that is used to tape duct work :)
Here is the first video I did on using this product "Foil tag".
The foil on this tag stuck where I didn't want it..see the bit of tag showing at the bottom...this stuff sure is Sticky.
Because I am doing a snowflake theme, I grabbed this cute snowflake embossing strip...cute right?!
I forgot to take a photo after I embossed it...it looked pretty in just the silver :)
I wanted to add some colour to my tag, as in the past years of my January tags, were more a vintage look to them.
So I added alcohol ink to the foil.
Isn't this so so pretty :)
I ran a second embossing folder to the top of my tag as I loved the look of the icicles hanging from the top of the tag.
Tim is revisiting some old techniques.
For this tag he was playing with the chalkboard technique.
Honestly I didn't really like that one when I did it years ago.
Not sure if it was the technique I didn't like or how my tag turned out...but whichever it was, I changed it up ;)
I heat embossed my image with multi colours of embossing powder.
I later did add some chalk around the edges of the paper, just to say I did some chalking, lol.
Now for some embellishing.
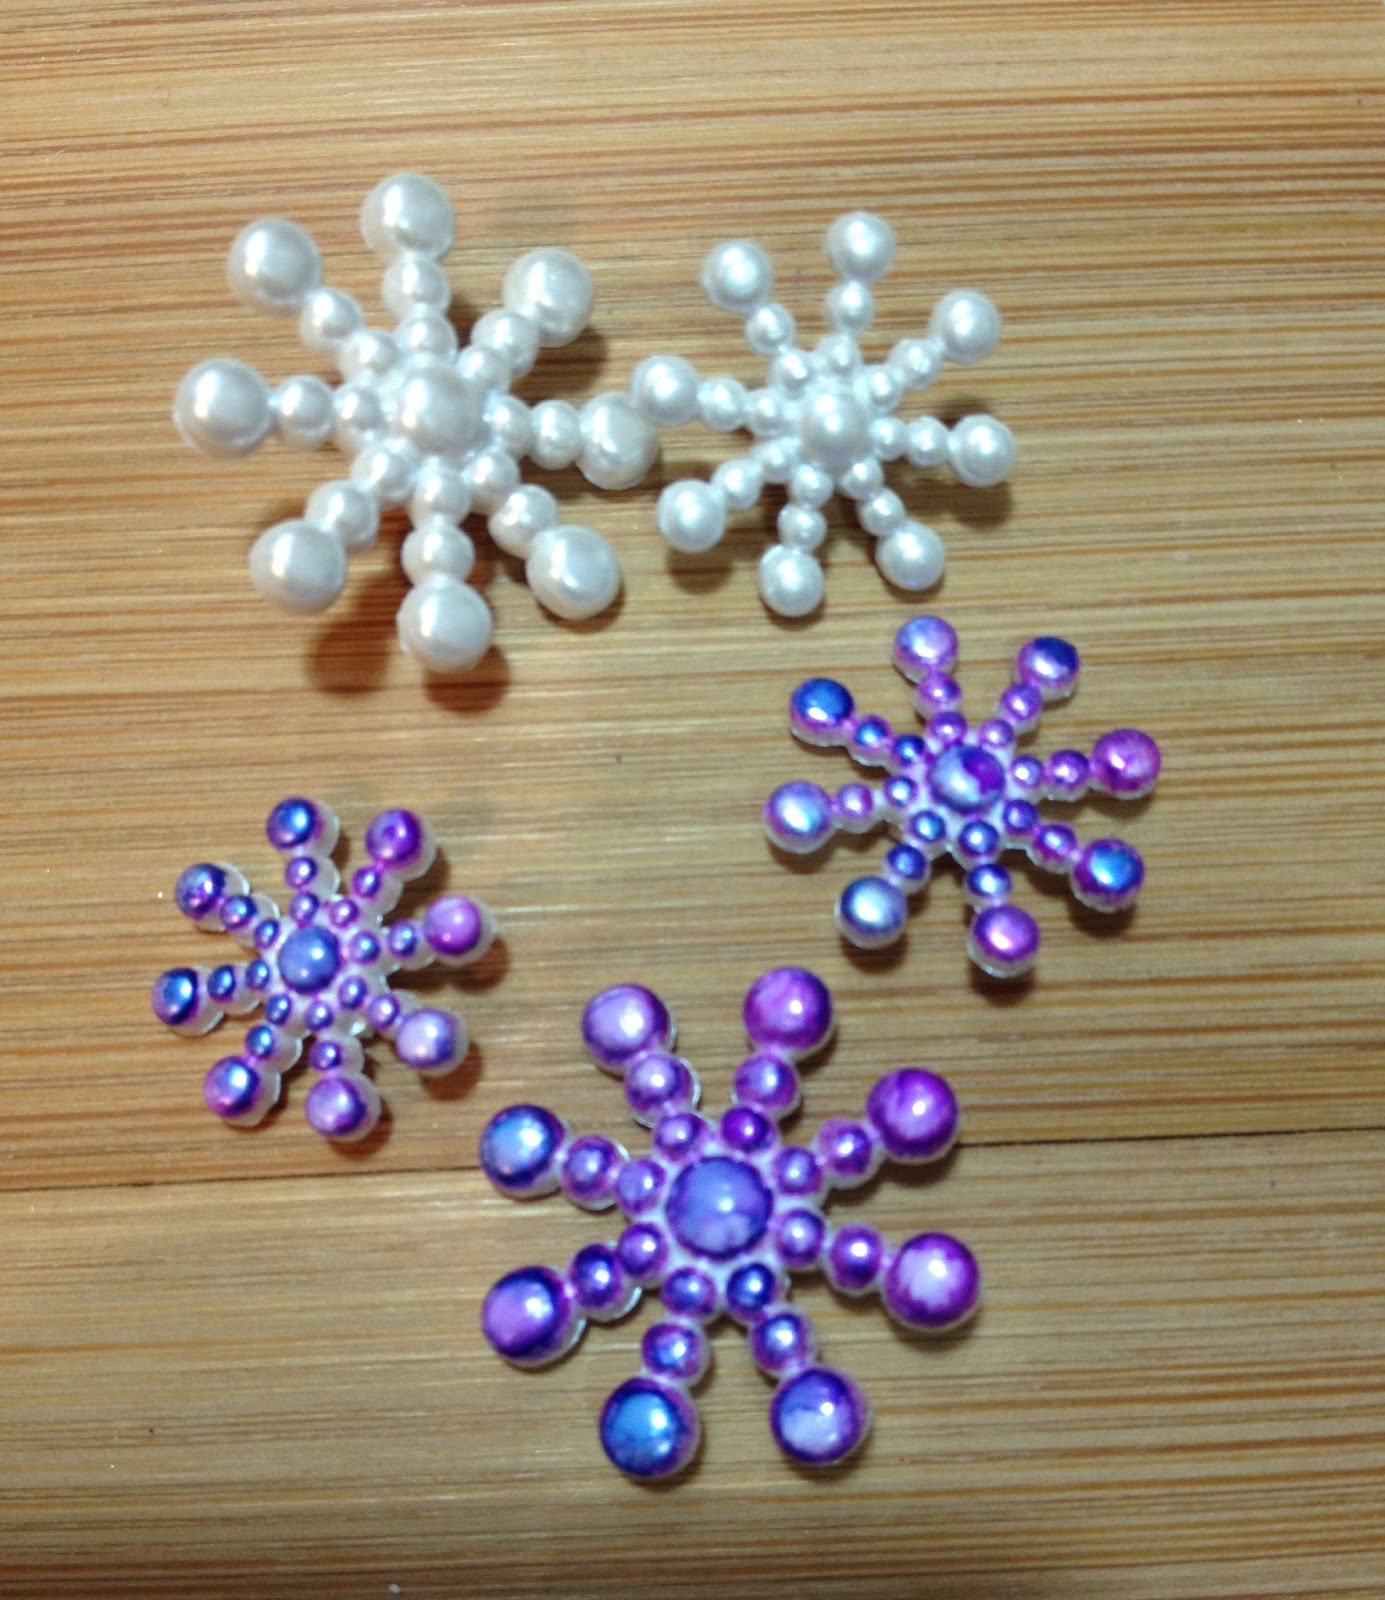
I know I have some metal snowflake charms in my stash...but do you think I could find them?!?
Nope
I really need to get into that craft room and do some organizing in there.
So what I did was grab these white plastic snowflake buttons and altered them.
Again I used the alcohol inks to add some colour and cut the backs off of the buttons.
I used one of these sentiment word bands and added washi tape that I cut thinner to each end.
A video on how I cut my "washi tape to be thinner"
I also added a bit of white paint and then buffed it off to read the words a bit better.
Here is the completed tag.
I also did a full tutorial on how I put this tag together :)
If you would like to watch it on my YouTube channel...just click the link :) "Tracy's Treasures24"
I hope you all enjoyed my tag and how I put it together.
Since I have been sharing some cards that I have made with embossing powder and water colour markers, I thought I would share an older card I had done.
For this card it is more about the stamp than the technique.
The stamp is a full coverage stamp, meaning…most of the stamp touches the paper when stamped.
After using VersaMark to stamp the image and using, clear (as the paper is white) or white embossing powder, then heat set the image.
The butterflies were the same colour as the paper, as the stamp was blank there.
I then used my Stampin' Up markers to colour the butterflies.
This could also be done with watercolour paints
I then inked the outer edges with ink.
I even did a video way back then with a tutorial :)
I made this card back in 2011.
Onto My Day:
I have been Defunkifying my Home, and yesterday I worked on the long needed Linen Closet.
I have been organizing and purging my home off and on for a while now, I have even been doing videos on the areas or rooms.
I am still debating on adding these videos on my YouTube channel and blog.
I know most of my followers come to my blog and YouTube channel because of my crafts, so not sure if anyone would be interested in these videos.
I was even thinking of starting a new YouTube channel just for Defunkifying my Home, but not sure if I could keep up with another channel, but not sure if I should add them to my current channel….so many decisions.
Any suggestions would be more than welcome :)
I am a SAHM (who never gets to stay at home) to 3 beautiful teenage daughters Ashley(born 1989) Heather(born 1991 and Kristy(born 1995).
Wife to my wonderful hubby Wayne. We have been married since 1988.
I am a bookkeeper for my husbands business.
I love to create. I dabble in all types of crafts. Jill of all trades expert in none. Right now I enjoy scrapbooking and paper crafts.
I decided to make this blog to share my creations and a bit of my crazy life.
Thanks for visiting.


