Good thing we have an extra day this year...or I wouldn't have completed my February tag for Tim Holtz "12 Tags of 2016"...and I want to complete them all this year.
Here is how my tag turned out...so different from Tim's...and so different from what I started with.
Tim is revisiting past techniques this year.
Funny thing is the techniques he has been sharing so far, have been ones I have not done before, as I missed a year here and there.
The one technique I thought was interesting was to use distress stain and ink up your stencil, then flip the stencil on the tag to transfer the ink to the tag.
I do not like how mine turned out...but no worries, I will save this tag for another month, October maybe since it looks like blood splatter, lol.
So I went a whole different route.
I also thought his technique to sprinkle embossing powder to embossing paste was a pretty cool idea as well...so lets see how this one turned out, lol.
I didn't want to fill in all of the hearts with embossing paste, so used sticky notes to mask them off.
To be able to see my exact placement, I held it up to the light....looks pretty good to me :)
They turned out nice a crisp..perfect!
Now when Tim Holtz warns you about what NOT to do during a technique...my advice, Listen, lol
I have done this many times and many times I get the same result, why....because I am impatient, lol.
I was to sprinkle the embossing powder to the embossing paste and let air dry...not dry it with my heat gun.
But being the rebel that I am thought...what the heck, whatever happens happens.
Yup, the embossing paste bubbled, lol.
Which I am fine with, now I have puffy gold hearts.
As much as I like the crisp gold on the black, I thought it was a bit plain, even when I added my other elements.
So I decided to use some white ink to stamp some text.
Then I forgot to take photos of the rest of the process, lol.
So here are some close ups of the completed tag.
This here may be my favourite part of the tag.
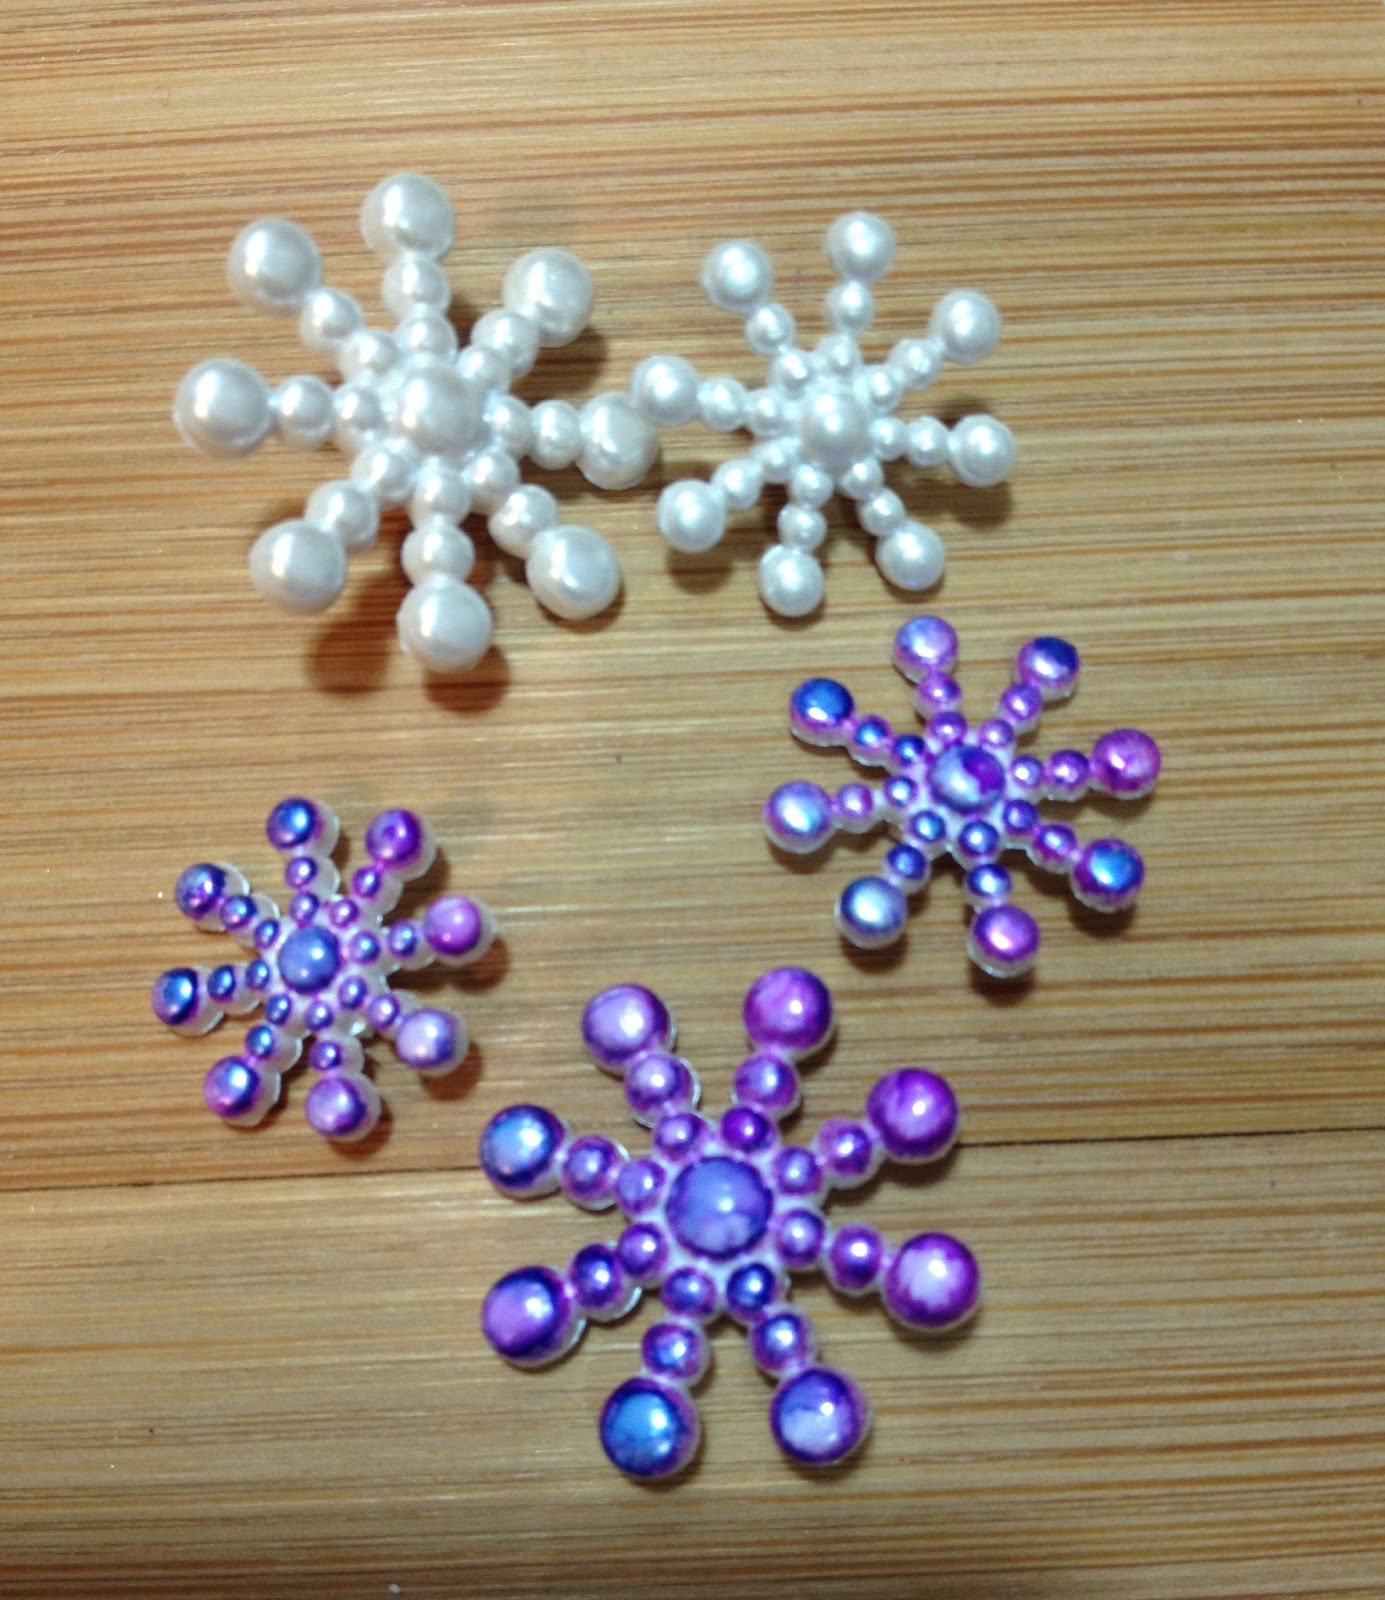
Love all of these metal embellishments.
The game piece spinner and screw thingy are from Tim Holtz, not sure where I picked up the heart locket, but isn't it so pretty :)
One last look at my tag for this month.
I didn't do a video for this tag as I have a pretty nasty cold.
I didn't think listening to me cough, sniffle and sneeze would make for a good video, lol.
I hope you were all creative today :)
Tracy :)
Showing posts with label Tim's tags. Show all posts
Monday, February 29, 2016
Friday, January 29, 2016
January 2016 Tag
I am trying to get in more creative time this year.
And by helping me with this goal, I have decided to do Tim's 2016 Tags.
So here is my January 2016 Tag!!!
I have done these tags for 2 years, and every year for January, it is a New Year type of theme.
For this year I wanted to do something a bit different, so went for a Snowflake theme.
Up here where I live January is one of the coldest months with plenty of snow.....so I thought it was fitting to do my tag to reflect that...plus I wanted to do some colour :)
Ok, lets get started.
First we need a tag ;)
Tim has some foil paper, where I don't, so I use my own way of adding foil to the tag.
I have done this many times and it works great!!
I use foil tape...the type that is used to tape duct work :)
Here is the first video I did on using this product "Foil tag".
The foil on this tag stuck where I didn't want it..see the bit of tag showing at the bottom...this stuff sure is Sticky.

Because I am doing a snowflake theme, I grabbed this cute snowflake embossing strip...cute right?!
I forgot to take a photo after I embossed it...it looked pretty in just the silver :)
I wanted to add some colour to my tag, as in the past years of my January tags, were more a vintage look to them.
So I added alcohol ink to the foil.
Isn't this so so pretty :)
I ran a second embossing folder to the top of my tag as I loved the look of the icicles hanging from the top of the tag.
Tim is revisiting some old techniques.
For this tag he was playing with the chalkboard technique.
Honestly I didn't really like that one when I did it years ago.
Not sure if it was the technique I didn't like or how my tag turned out...but whichever it was, I changed it up ;)
I heat embossed my image with multi colours of embossing powder.
I later did add some chalk around the edges of the paper, just to say I did some chalking, lol.
Now for some embellishing.
I know I have some metal snowflake charms in my stash...but do you think I could find them?!?
Nope
I really need to get into that craft room and do some organizing in there.
So what I did was grab these white plastic snowflake buttons and altered them.
Again I used the alcohol inks to add some colour and cut the backs off of the buttons.
I used one of these sentiment word bands and added washi tape that I cut thinner to each end.
A video on how I cut my "washi tape to be thinner"
I also added a bit of white paint and then buffed it off to read the words a bit better.
Here is the completed tag.
I also did a full tutorial on how I put this tag together :)
If you would like to watch it on my YouTube channel...just click the link :) "Tracy's Treasures24"
I hope you all enjoyed my tag and how I put it together.
I hope you all have a very Creative Day :)
Tracy :)
Monday, June 30, 2014
Lets the Creative Inspiration Begin!
Like I stated on Friday, I am planning on sharing a lot of crafty inspiration this week :)
I will start with my June Tag for the Tim Holtz 12 tags of 2014 :)
Nothing like the last minute eh?
I am not sure how I feel about this tag, its not one of my favourites that I have done this year.
I used the same techniques that Tim used….you should check out his blog "Tim's Blog" to see his tag and how he did the background on here :)
I stamped these Heartfelt Creations stamps on some pattern paper and fussy cut them out.
They do have matching dies, but I don't have them for this flower…but it is easy enough to cut these flowers out.
The stamp I have used on this tag was one from the $1.00 bin at Michaels many years ago. It came with a butterfly, but when I unmounted it from the wood block, I also cut the sentiment away from the butterfly :)
I love this sentiment.
I have been busy today as I even made a video ;)
If you would rather watch this video on my YouTube channel…just click on the link "Tracy's Treasures24"
I shared my tag from May, but I totally forgot to post my video on here as well as my YouTube channel.
Oops
So here is the video for May's tag.
If you would rather watch it on my YouTube channel, just click on the link "Tracy's Treasures"
See, I told you it was going to be a week filled with creative inspiration ;)
On another note, my Facebook account was hacked today. Someone tried to use my identity to get my friends to a lottery scam…but with help from my friends, I was able to shut those buggers down, teehee.
I had a wonderful long weekend at our cottage with my honey, my daughters and their boyfriends.
But man they can eat, lol.
This is one breakfast of eggs and bacon…and I didn't break one yolk, not a one, teehee.
I am hearing some some fireworks outside.
Tomorrow is Canada Day, I guess some are starting the celebration early :)
I hope you all had a Creative Day :)
Tracy :)
Friday, August 30, 2013
Augusts Monthly Tag for Tim Holtz challenge
I did it...just in the nick of time :)
I finished my Tag for August.
If you have been following me, then you know that I have been trying to do all of Tim Holtz monthly tags.
I have done them all, but one month I was a bit late.
For this month Tim was focusing on layered masks, stamps and his distress stain.
I only used 1 out of his 3.
I wanted to focus on his travel theme.
If you know me then you know i love my road trips.
As I lay my head against my pillow last night, thinking of my tag the first thing I thought of was to use an old map for the background.
I used a brown tag for the background and cut the map a tad smaller then the tag.
I used some stickers for the word "Road Trip" and the charm is attached with a fishing swivel.
I cut down a hotel card envelope and added alcohol ink to the actual card key.
If you look close you can see I punched the ticket coupon with today's date ;)
I stamped this old car. It was the closest stamp I had that was close enough to the look of my jeep. Yeah, its a stretch I know ;)
I came across this flair button with a map on it, and thought it pretty cool and added a bit of colour to the tag.
Before I could work on my tag, I had to clean off my desk.
Scary isn't it, lol.
I haven't created down in my craft room for many months. I have been creating at the cottage or upstairs, so my desk has become a dumping ground.
The reason the table cloth is on there is for when I take photos of my projects. I just cover all the nastiness and snap away, lol.
But believe me my desk is all tidy again.....can't say the same for the floor though ;)
I don't want you to go away with that messy desk burnt into your eyes, so here is another look at my tag.
I am happy to say that this tag turned out just how I had planned. And we all know that doesn't happen very often.
Well we are off to the cottage for this long weekend.
I am bringing as much creative supplies as last weekend as I hear it is suppose to rain a lot :(
Hope you all have a creative day and a wonderful weekend. You know I will be posting over the weekend, as I don't think I have missed a day posting since I had started my blog over 3 yrs ago.
Tracy :)
Wednesday, July 31, 2013
July's Tim Holtz Tag.
Looky, looky what I finally did.
I finally got around to making the Tim Holtz July tag, just in the nick of time.
This may look simple...which it really is, lol.
I didn't follow Tim's tag at all besides that Tim made a Patriotic tag, so I wanted to make one for my country :)
I used a white tag and taped off the center. Then I used distress ink for the red and spritzed it with water.
I had received a birch bark maple leaf from a swap, and thought it was perfect for this tag.
I inked it with alcohol ink and adhered it to the tag.
I stamped the word "Home" as I am proud to call Canada my home.
I will try and get my August tag complete before the end of the month ;)
I also made my June's tag, which I will share tomorrow :)
I hope you all had a creative Wednesday :)
Tracy :)
Subscribe to:
Posts (Atom)